
Discover how to effortlessly integrate Exchange Online into your automation workflow with Azure Automation and Managed Identity.
In this step-by-step guide, we’ll walk through establishing a secure connection to Exchange Online for a smoother and more efficient automation experience.
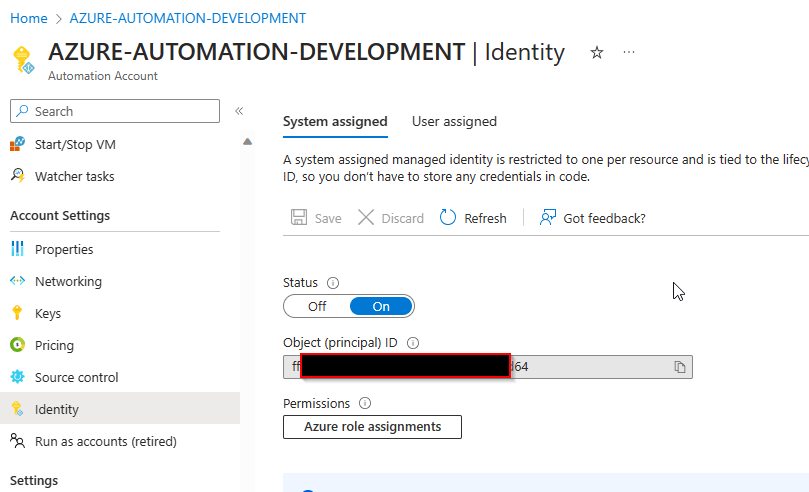
- Enable the System Assigned Managed Identity for the Azure Automation Account
- Assign Exchange Administrator role to the Automations Account Managed Identity in the GUI
- Go to Roles Blade in Microsoft Entra ID
- Search for Exchange Administrator

- Click on Role Exchange Administrator
- Click on Add Assigments
- Search for you Azure Automation Managed Identity.
- Select your Automation Account
- Click Add

- Assign the Exchange Administrator role to the Automation Account Managed Identity with a PowerShell Script
#Use PowerShell Version 7.x

Install-Module -Microsoft.Graph.Identity.Governance #(Get-Module -Name Microsoft.Graph.Identity.Governance).ExportedCommands
Import-Module -Name Microsoft.Graph.Identity.Governance -Force

Connect-MgGraph -Scopes RoleManagement.ReadWrite.Directory

$MI_ID = "" #<-- Paste in here your Azure Automation Managed Identity ID
$RoleName = "Exchange Administrator"


#With Microsoft Graph PowerShell SDK
$roledefinition = Get-MgRoleManagementDirectoryRoleDefinition -Filter "DisplayName eq '$($RoleName)'"
$roleassignment = New-MgRoleManagementDirectoryRoleAssignment -DirectoryScopeId '/' -RoleDefinitionId $roledefinition.Id -PrincipalId $MI_ID

#####################################################

#With Invoke-GraphRequest

$URI = "https://graph.microsoft.com/v1.0/roleManagement/directory/roleAssignments"

$Body = @{
    "principalId" = $MI_ID
    "roledefinitionid" = $roledefinition.Id
    "directoryScopeId" = "/"
}

Invoke-GraphRequest POST $URI -Body $($Body | ConvertTo-Json) -ContentType "application/json" -Verbose
- Grant the Exchange.ManageAsApp API permission for the managed identity to call Exchange Online
#Use PowerShell Version 7.x

Install-Module -Name Microsoft.Graph.Authentication #(Get-Module -Name Microsoft.Graph.Authentication).ExportedCommands
Install-Module -Name Microsoft.Graph.Applications #(Get-Module -Name Microsoft.Graph.Applications).ExportedCommands


Connect-MgGraph -Scopes AppRoleAssignment.ReadWrite.All,Application.Read.All
$MI_ID = "" #<-- Paste in here your Azure Automation Managed Identity ID
$AppRoleID = "dc50a0fb-09a3-484d-be87-e023b12c6440" #Exchange Online Application Role ID -> always the same in every tenant
$ResourceID = (Get-MgServicePrincipal -Filter "AppId eq '00000002-0000-0ff1-ce00-000000000000'").Id #Exchange Online Service Principal ID -> always the same in every tenant
New-MgServicePrincipalAppRoleAssignment -ServicePrincipalId $MI_ID -PrincipalId $MI_ID -AppRoleId $AppRoleID -ResourceId $ResourceID
- Install the ExchangeOnlineManagement module in your Automation account.
If you have an Hybrid Worker make sure you have also installed the Module on your Hybrid Worker ! If not, the Script using the Managed Identity to connect to Exchange Online won’t work.
Exchange Online Management Module Azure Automation:

Exchange Online Management Module on Hybrid Worker :

If not installed please refer to the PowerShell Gallery :
PowerShell Gallery | ExchangeOnlineManagement 3.4.0
Install-Module -Name ExchangeOnlineManagement -RequiredVersion 3.4.0
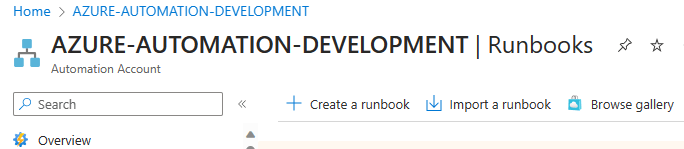
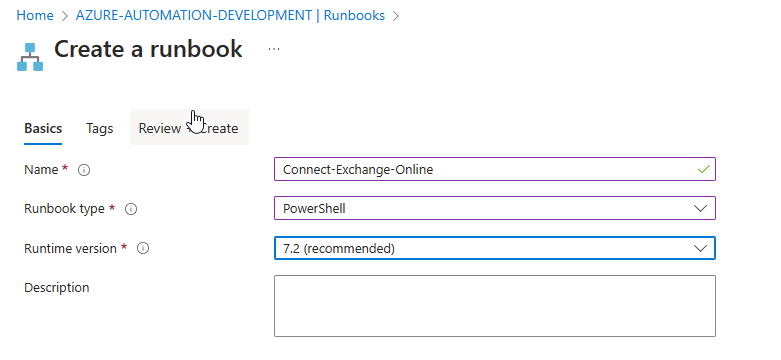
- Create a Runbook and try to Connect to Exchange Online with Managed Identity
- Click on + Create a runbook
- Click on Review & Create
- Click on Create
- Write following Code in the PowerShell Editor
Connect-ExchangeOnline -ManagedIdentity -Organization contoso.onmicrosoft.com

Get-Mailbox -resultsize 1
- Execute the Code in the Test Pane on Azure or your Hybrid Worker

Finaly we are able to retrive Data from Exchange Online with Azure Automation 😎
Happy Automating !
